
Removing and Replacing Wet Drywall in Bathroom Near Concord, NH

Tub Surround Sound
We received a call from the homeowner asking a familiar question,
“Could you please come by and paint over the area where the shower or tub leaked into the corner of the sheetrock in the bathroom?”
The short answer is,
“No”
The long answer is also,
“No.”
Wet Drywall is Wet Drywall
Once the gypsum in the drywall gets wet paint will no longer adhere to it, no matter how long it has been drying or dried. If you use your five in one tool, (or your finger, ew!) to lightly scratch at the surface, you will see it crumble.
The crystalline structure of the gypsum which makes drywall so strong has been lost and it is time to replace that wet drywall with some new dry, drywall. There is a lot of science sandwiched between the two layers of paper. Both a physical and chemical reaction takes place in the factories of the great white north.
I believe we will leave the sheetrock science to The Science Guy… Right, Bill Nye?
First, Remove All Wet Drywall and Inspect For More Water Damage
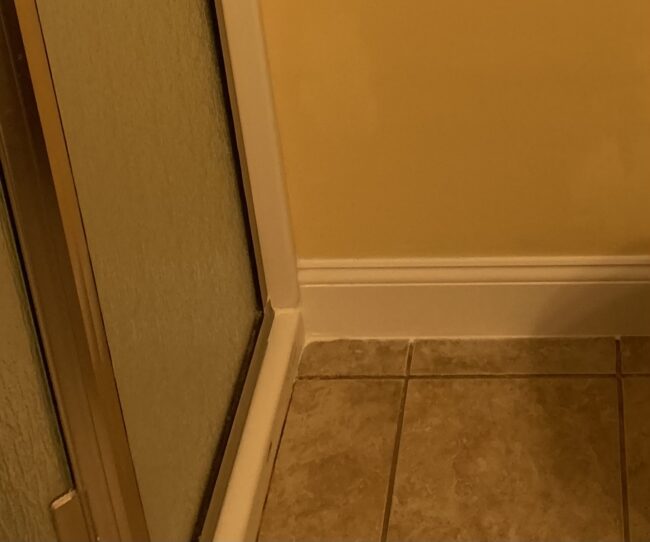
We arrived and inspected the suspected failed wallboard and it did not hold up under pressure.
We carefully removed the baseboard with our little blue wonder, wonderbar prybars and discovered the moisture underneath. Luckily as discussed with the homeowner the wooden sill plate and framing studs had not been damaged by the leak… yet.
We used a multi-material plunge cut blade on our Dewalt cordless multi-tool to make short work of the drywall cutting and removed a 2 foot high by 32 inch wide section of drywall to be plenty sure to extend our repair beyond any of the water damaged area of the bathroom wall. The same blade also cut the existing screws off even with the studs. (Saving us Great Time!)
In the bathroom area “blueboard” or “greenboard” is needed for the repair and we cut it to fit the hole we expanded squarely and exponentially. Being careful to keep the gaps tight and avoid a loose seam. a few strips of self-adhering drywall seam tape. (We prefer the fiberglass mesh variety) We were ready to start with the joint compound. (Not bad for the first day!) We used 2 coats of a quick setting joint compound and it dried just in time to give it a quick sanding with our handy sanding sponges and apply a coat of Benjamin Moore primer. Leaving it to dry overnight.
Measure Cut And Install New Drywall

On the way to the jobsite the next morning we stopped at the local lumber yard and purchased four feet of five and a quarter inch baseboard. Preprimed this time and ready to be cut to fit and painted with more Benjamin Moore! (Thank you Exeter Paint Store, in Exeter, NH)
We checked to be sure the seams were tight and the sheetrock was rock steady before sanding again with a fine grit sandpaper to ready the primer for painting. But wait, there’s more! We scraped all the old caulking out of the gaps in the shower surround and cleaned the surfaces with de-natured alcohol. (It’s not just for breakfast anymore!)
Caulk to fit, Paint to match!
We applied a generous amount of caulking in a 3/8 inch bead and went to town with the final coat of (one more time!) Benjamin Moore Paint everywhere it was needed!
What do you think?
The homeowner said those magic words,
“My wife is happy with it..”
And it held up under scrutiny.
Tools we used to remove and replace drywall in bathroom in Concord, NH
- Center Punch
- Dewalt Cordless Multi-tool
- Dewalt Cordless Drill
- Dewalt Cordless Reciprocating Saw
- Screwdrivers
- Canvas Drop Cloths
- Caulking Gun
- Razor knife
- Paint Brushes and Rollers
Notice to reader: We are moving towards a consulting role and in the future may earn a bit of money if you purchase through these links. (I personally use the tools i recommend)
Stepping Stone Construction is here if you need us to put some sheetrock in your hole so give us a call and we can put you on the schedule for next available. The reason we have so many satisfied customers is we are quick, responsive and we do not take all night to do it right!
Give us a call or go to our contact page to send an email and request a free consultation on your next home improvement project! The house you save, may be your own!
Stepping Stone Construction
Imagine Create Inspire
Subscribe to our Monthly Home Remodeling Newsletter for Exclusive Offers and Updates on Scheduling Availability!
We are committed to your privacy. Stepping Stone Construction is the one to call for all your needs in the Southern Maine, New Hampshire and select regions of the United States.