

How To Install Window Casing
Or… The Case of the Missing Window Frame.
When it comes to installing window casings, (otherwise known as window trim) the professional craftsmen here at Stepping Stone Construction have seen it all! The great thing about creating your own window casing (window trim) is that you have complete control over the outcome! The pride in workmanship will show on the smile you feel upon your face!
Choices, Choices, Choices
In the above picture example we chose to install a new window casing built on site from Premium Grade Eastern White Pine. This provided us with an incredible balance between cost effectiveness, quality of lumber, availability of materials and ease of workmanship. Among the myriad of quality lumber choices here on the New England coast, Eastern White Pine is sometimes the best of all worlds! You can usually find it ready for you off the rack in our fine lumber distributors, right here near Portsmouth, NH.
Measuring and Cutting
Now the old timers will try to tell you to “measure twice and cut once.” The old timers are correct. It is incredibly important to be sure of your measurements on both the left and right side of the window casings. These are not always going to be the same length in an existing home. One trick taught to me by the old timers was to hold that piece of wood tight up against the wall and firmly mark it with a pencil even along the opening. Then you can proceed to cutting the window casings for the left and right sides.
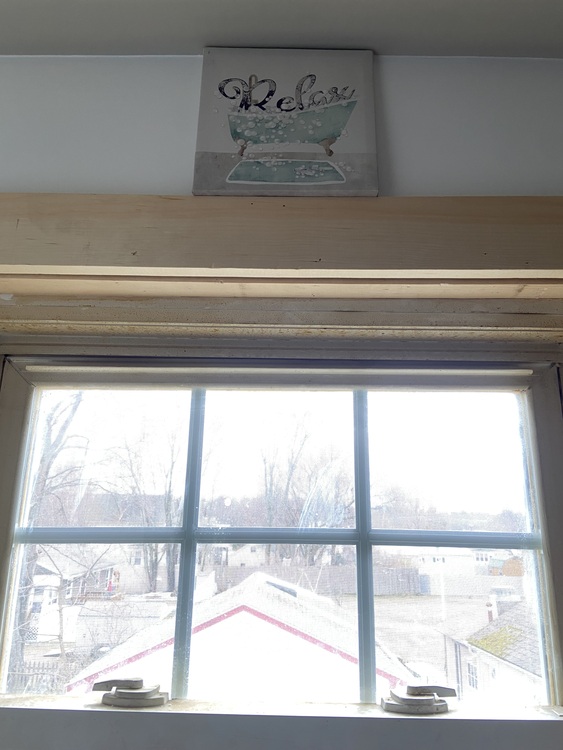
Still More Measuring and Cutting
To simplify the process and to eliminate the need for a third set of hands we often nail both side casing in place, being careful with the correct placement even with the top and bottom of your window opening. In the photo above we also held the head casing up against the wall and marked it with a 3/8 inch overhang on each side. This gave us a total of 3/4 overhang to account for the width of each side casing. (again, measure twice, cut once!)
Window Stool and Apron Installation
In order to determine the correct length of the stool to achieve the finished look we needed to add 1 inch to each side of the casing for a total of 2 inches longer than the final width. At the same time we marked the location of the cuts we would make for the horns. This is something you will not see in the end but again, very important in the process and this could make or break your window and be a real pane if it is miscalculated! The Apron is probably the easiest of the cuts to measure and place in place, as it is decided for you by making it equal to the width of the outside of the left and right casings which we nailed in place in the first place!
Voila! The Window Casing Installation, She is Done!

As you can probably tell, even this simple design has many steps and is very labor intensive. We would recommend doing this yourself if you are comfortable working with all the tools and materials:
Tools and materials needed:
- Measuring tape (Stanley Fat Max Classic 30′)
- Miter saw (with finish blade)
- Pneumatic nailer and compressor
- Gloves and safety glasses and pencil
- Combination square
- Premium Grade Clear Eastern White Finish Pine
- Clear lacquer from Benjamin Moore
We do our shopping at some of these fine stores linked above but receive no compensation other than a friendly smile and great customer service! Thank You!
Call Stepping Stone Construction
The customer requested this window casing installation be left unfinished. Staining and Painting is something that we do all the time! If you do not feel comfortable doing your own window casing installation, please do not hesitate to call on a professional team to get this and other jobs done for you!
Stepping Stone Construction
Imagine Create Inspire
Subscribe to our Monthly Home Remodeling Newsletter for Exclusive Offers and Updates on Scheduling Availability!
We are committed to your privacy. Stepping Stone Construction is the one to call for all your needs in the Southern Maine, New Hampshire and select regions of the United States.